
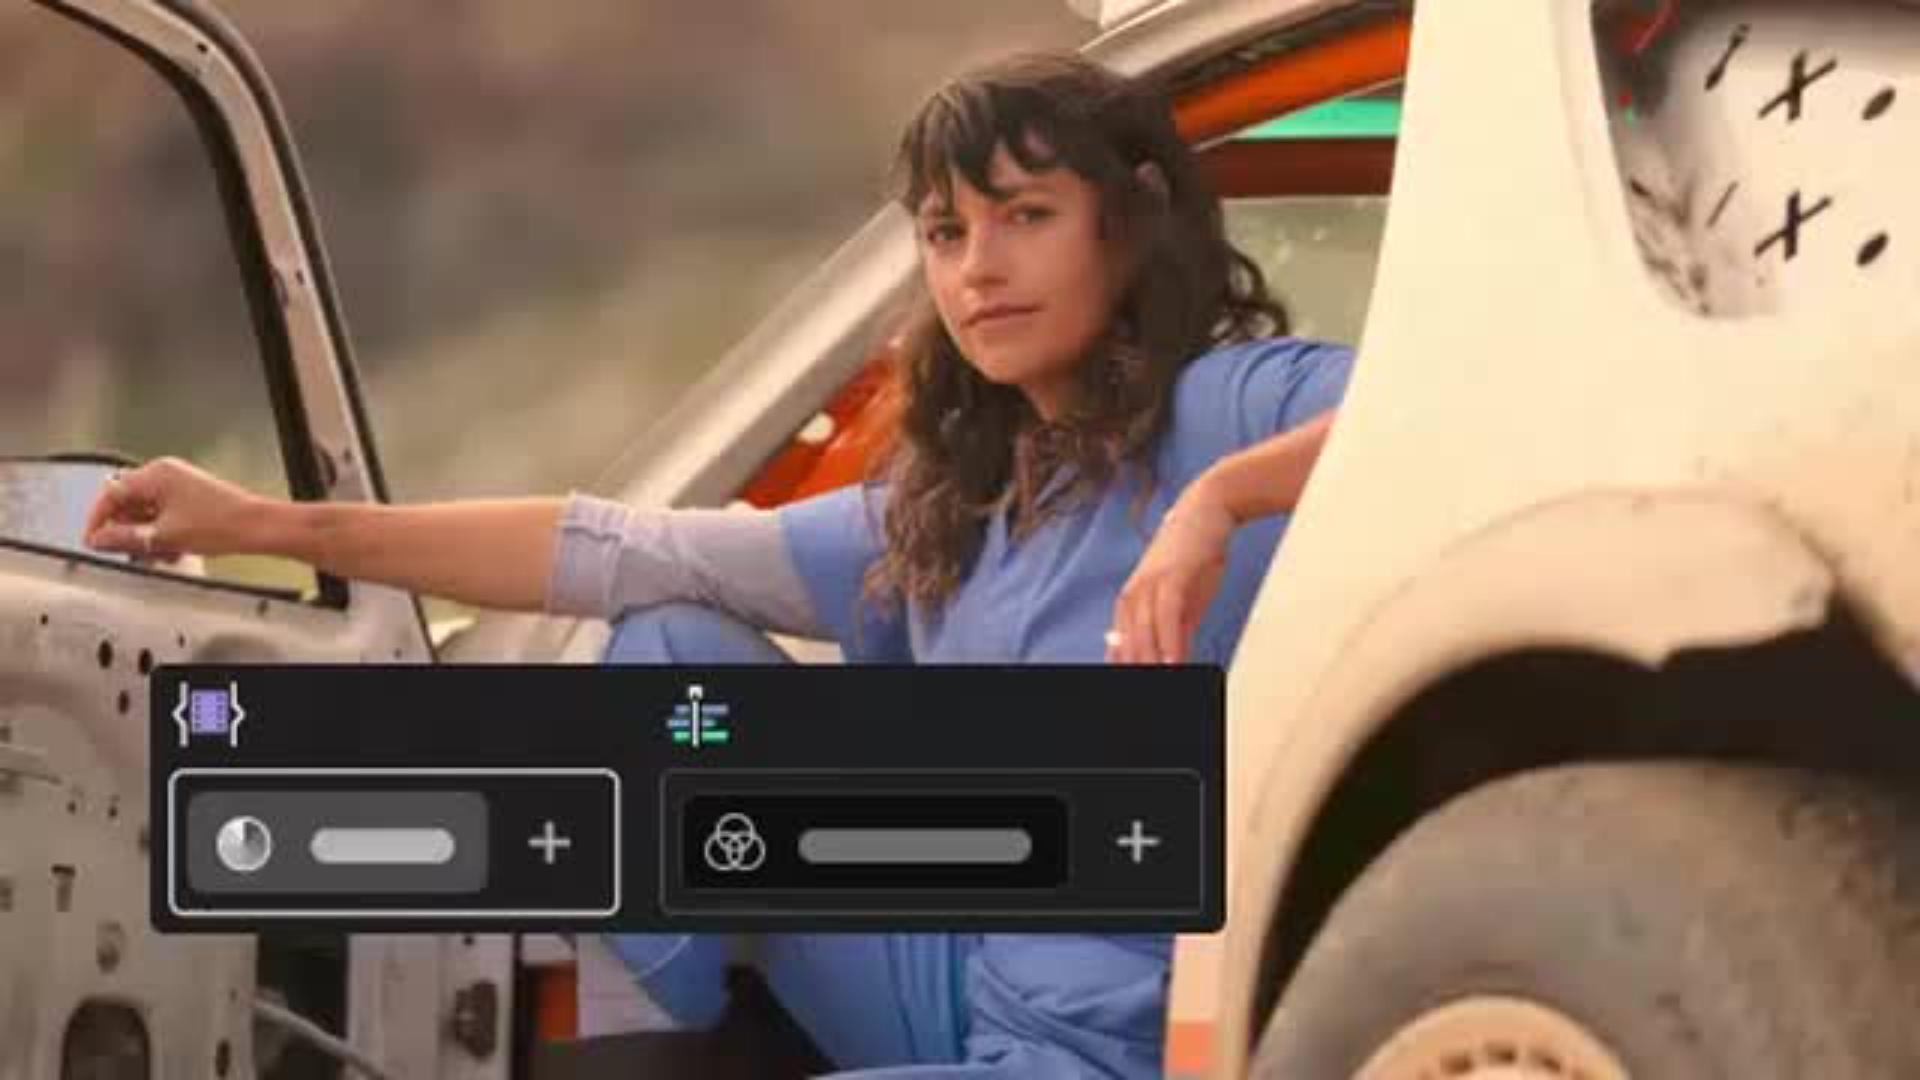
Opening a familiar project and not finding a panel where you expect it is a pretty good way to interrupt an edit. With Premiere 27.0, that’s going to be the first thing some editors notice about color. The Lumetri Color panel has been retired. The effect itself hasn’t disappeared, and Adobe says the adjustments in existing Lumetri effects are preserved.
Adobe made Color Mode generally available on November 10. It gives color work its own environment beside Edit, with a different way to organize adjustments. There’s a useful distinction here between finding an old grade and starting a new one. This is a documentation-based walkthrough, not a hands-on review.
Your old grade hasn’t moved into a new system
According to Adobe’s Lumetri guidance, existing Lumetri Color effects are edited in the Properties panel. You can still add a new Lumetri Color effect from the Effects panel. If you’re opening an approved spot to make a small revision, that’s where I’d start. Find the effect that already exists before deciding to build anything else on top of it.
A new place for the controls doesn’t mean an approved grade needs to be redone. Say the request is to replace an end card and export a shorter cut. I’d want those changes made without accidentally changing the color of the footage. Learning the new color tools can be a separate task from getting that revision out.
Choose what the adjustment should affect
Color Mode organizes the work into operations. Adobe’s workflow guide describes a Clip operation for changes to the selected clip and a Sequence Style operation for a look across the timeline. You select footage through the Clip Grid, then choose the operation you want to adjust. Those are different scopes, so it’s worth checking which one you’re working in before making a change.
If one interview angle is a little warmer than the other, I’d want to correct that angle. I wouldn’t want to make the entire sequence cooler to compensate. A broader treatment could make sense once the shots work together, but it still needs to work across the range of footage in the cut. A look that suits one shot can be too much for the next.
Quick corrections are also available in Edit mode. Adobe says the Color section of Properties exposes global controls from the first Clip Adjust operation. That gives an editor a way to make a correction without opening the full color environment. It doesn’t mean every grading control is available in both places.
Set up the sequence before chasing the look
Color Mode and Color Management do different jobs. The first is where you work on the grade. Color Management handles how correctly tagged source footage is transformed for the intended output. Adobe’s color-management guidance says to choose the appropriate setup before grading and avoid changing the working color space afterward, because that can change the appearance of the adjustments.
For a job that mixes log footage, standard video, graphics and an existing LUT, I’d first work out what each part is doing. Is the source being interpreted correctly? Is a transform already applied? What output are you delivering? Trying to fix the picture before answering those questions can leave you correcting the same issue twice.
I wouldn’t switch an existing sequence to a different color setup just because the new one is available. If the current job looks right and matches its delivery requirements, keep that as a reference. Explore a different setup in a copy where you can compare the results and understand what changed.
Compare the cut, not just the selected shot
Adobe has also moved Comparison View into Color Mode. It supports side-by-side evaluation with visual and scope feedback. That’s useful for matching, but I’d still play the sequence afterward. A shot can look good by itself and feel wrong when you cut back to the wider angle.
Before moving a live job into a new major release, save a separate project copy and keep a known-good export. Check representative shots, graphics and transitions, then compare an export from the updated project. If someone else is finishing the work, agree on the version and handoff before either of you changes the setup.
For my editing and post-production work, the useful question is whether I can make the change the job needs and keep the rest consistent. Color Mode gives editors another way to work. Knowing where an adjustment lives, and how much footage it affects, is the part I’d learn first.